As I haven't built a stool for a while, I decided to try my hand at a Shaker style bench / stool.
My scaffold boards have warped a fair bit in drying meaning a full bench was not really practical. Ok, I admit it, with a lot of planing it could be done, but my natural laziness told me to keep it small... hence I'm calling it a Shaker stool.
With some inspiration from Google images I rough cut my two side pieces of timber and attacked them with my winding sticks, a no#6 Foreplane set for a heavy cut followed by my no#7 Try plane set fine to get them flat.


After getting the edges straight and parallel, I cut the ends square on the bench hook.
I am definitely getting faster as milling rough sawn boards into usable stock.
The main feature of this stool is the cut out design of the side pieces. I first found the centre of the board and marked the position of my desired hole.

Now it's confession time... I didn't have an auger bit large enough and resorted to using .... A POWER TOOL!!!!!
Yep, I drilled my hole with my cordless drill and I feel dirty for it!...In fact it made everything dirty - what a mess it made. To make matters worse there was also a lot of tear out between the hard and soft wood in the grain.


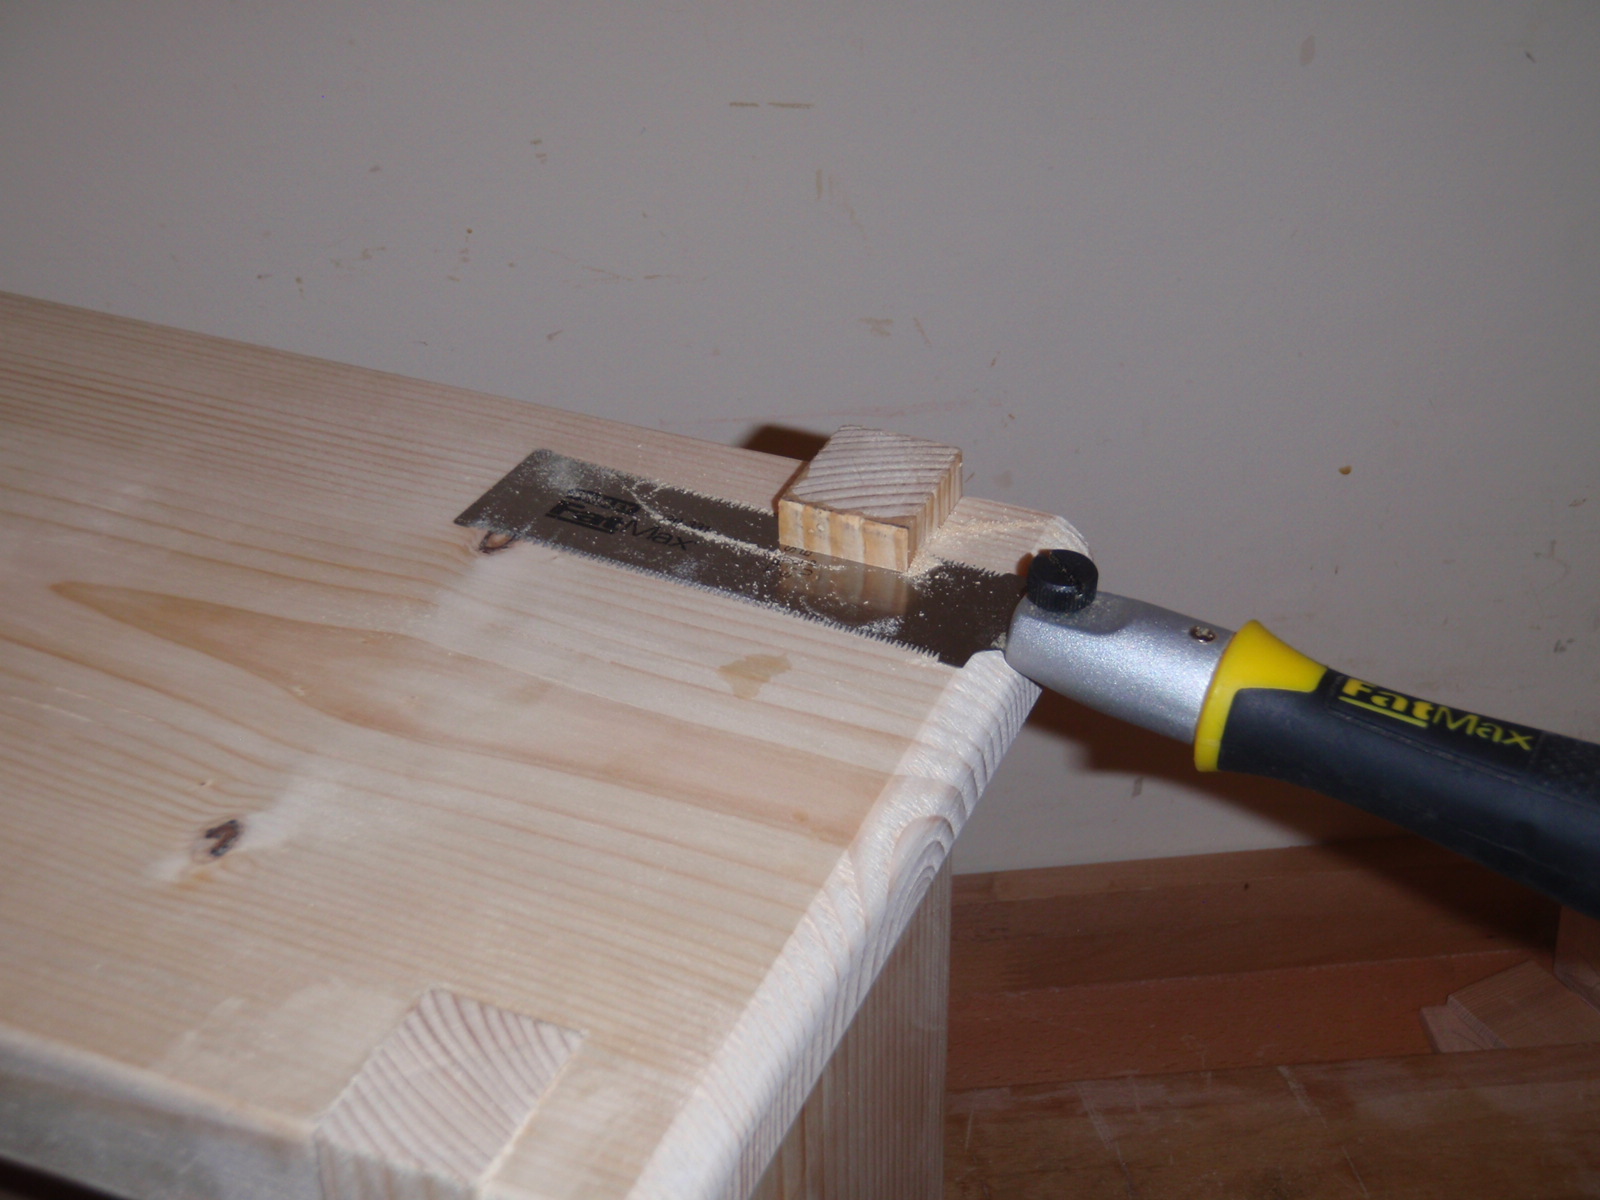
Finally cutting out the connecting wedge shaped bit of wood with my large tenon saw. Now I had my sides, I needed a seat piece, more milling...


Soon it was beginning to look a bit like a stool...
Now I didn't have a plan and was just making it up as I went along, I had a loose idea of maybe some tenons in the side pieces coming up through the seat, but I didn't like the fact that the sides were the same width as the seat so there was no decorative overlap.
I didn't want to reduce the width of the side pieces as that would make the stool less stable. Where the side pieces meet the top piece looks clunky. What to do.... I decided I would have the side pieces rabbeted into the seat for strength and see what it looks like ...


Hmn... Still rather clunky. My only other option is to have the 'tenons' come up through the seat on the outside, thus hiding the joint. I marked and chiseled out the recesses in the seat top and used it as a template to mark up the side piece tenons.


I was finally happy with how the joint looked, now I just needed a 'cross brace' that would mortise and tenon through the side pieces. More milling...
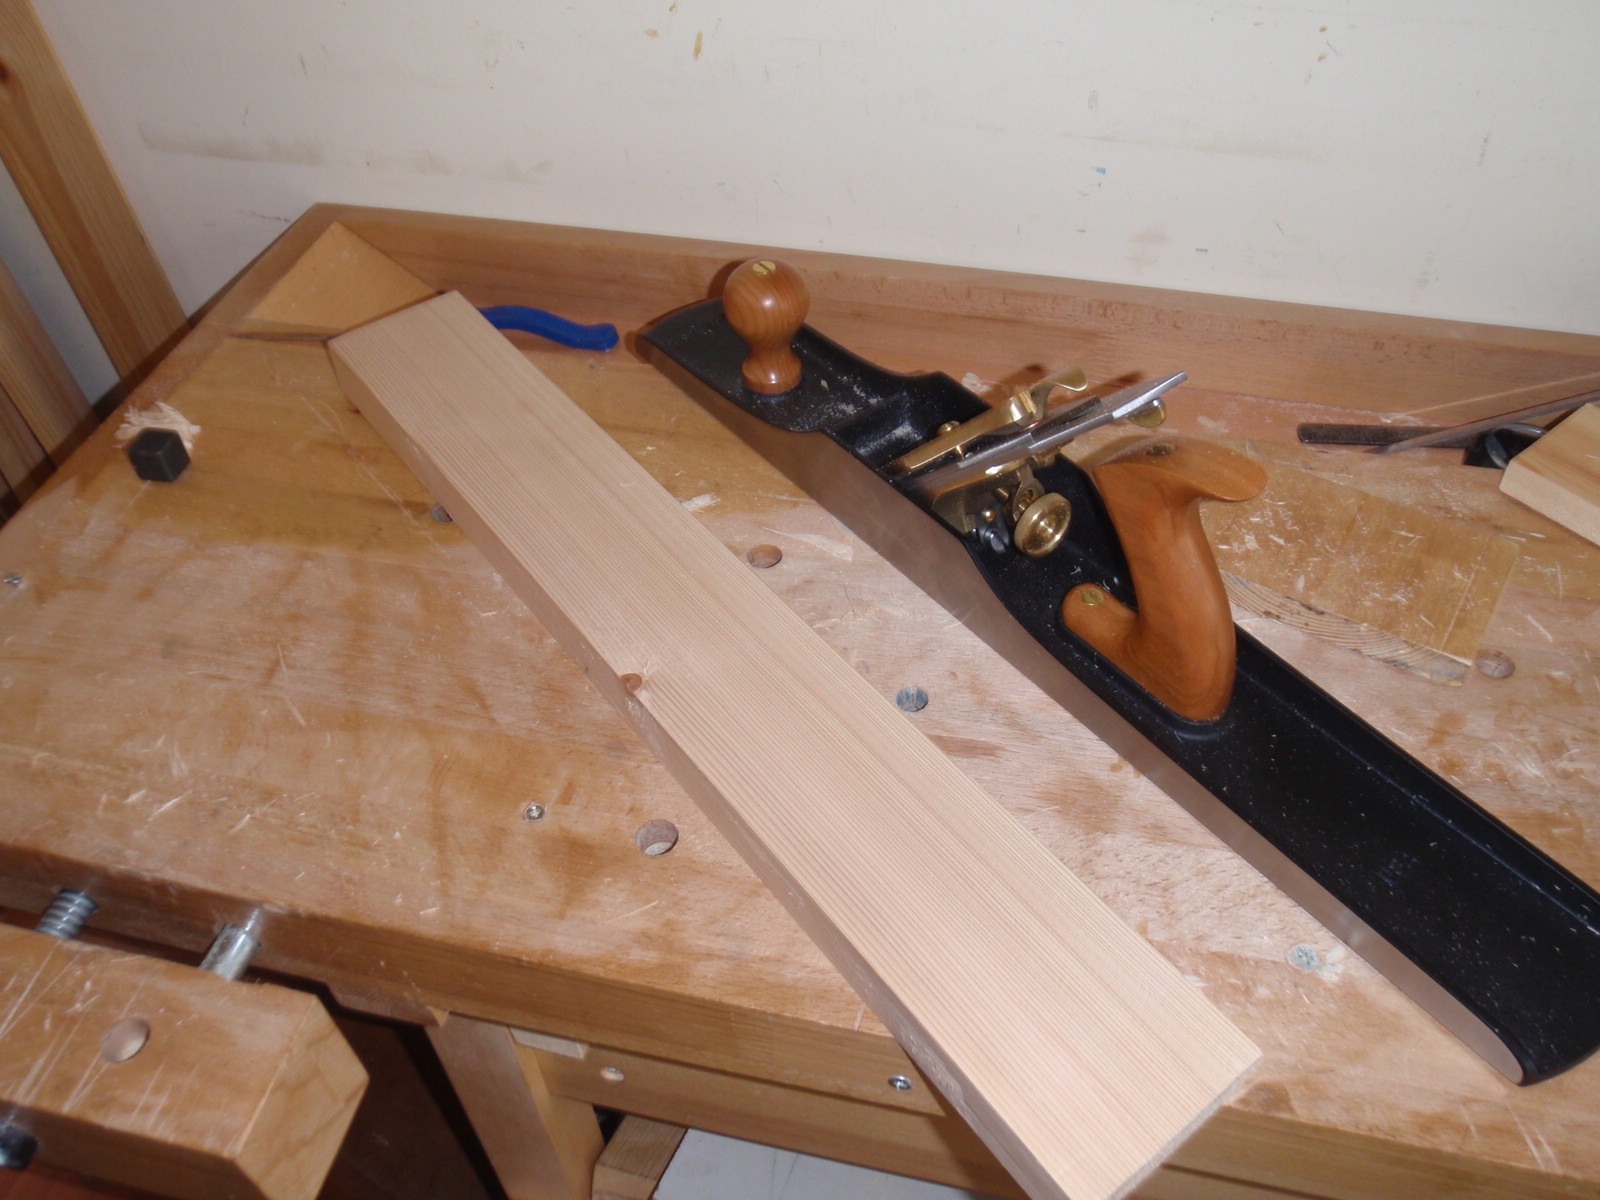

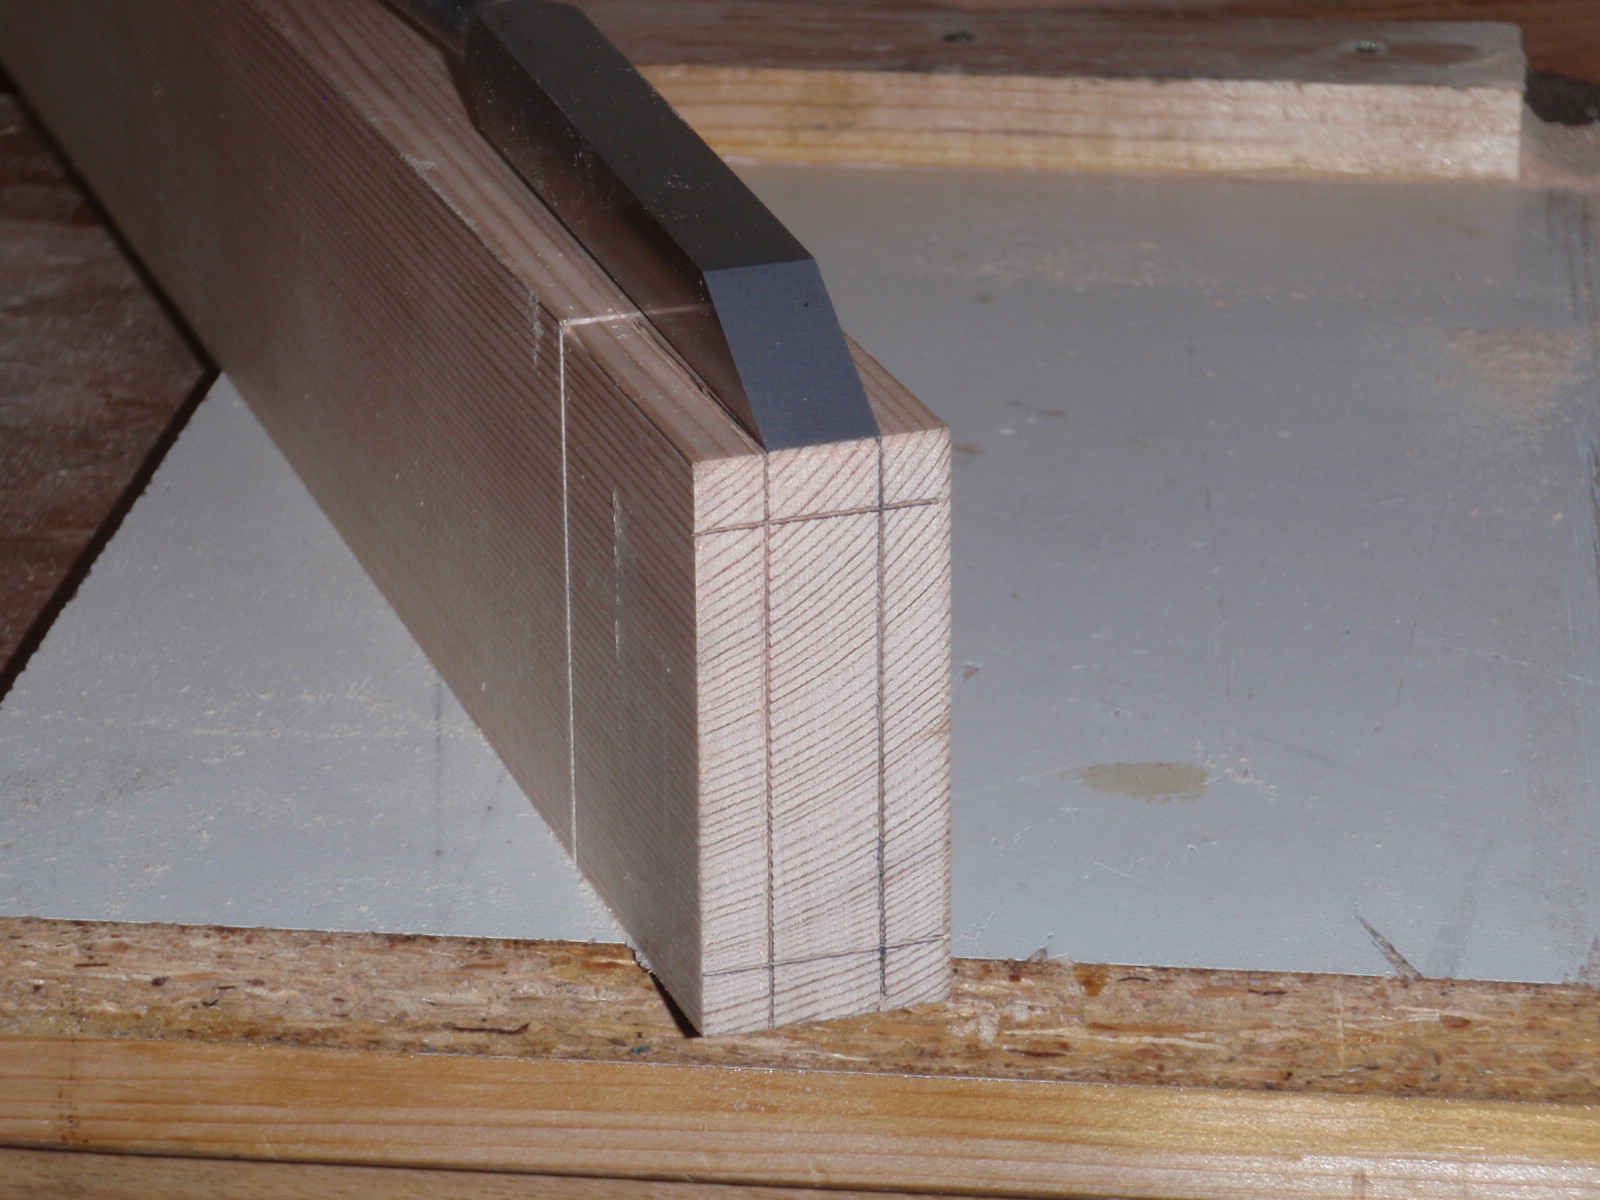
With the brace all milled flat and true, I proceeded to cut the tenon on each end. Followed by the corresponding mortise in each side piece.
I was aware (after I finished the tenons) that I should have cut the mortises first to ensure that the tenons would be a tight fit ... luckily they weren't too bad.


It all fits... Now it's my favourite part of the project... NOT!
Glue Up... Take the phone off the hook, lock the door. Get everything ready... do a dry run first.

I also added a chamfer to the ends of the seat top.


After gluing up the stool, it was just a matter of flush cutting off the protruding tenons, some final trimming and then applying a finish.