Thursday 29 September 2011

New Tenon Saw

After much research and deliberation I have finally got myself a shiny new and very large Tenon Saw. 
For 'ages' I have felt like I have needed something bigger than my Lie Nielson Carcass & Dovetail Saws, but I couldn't decide on the size or whether it should be sharpened Crosscut or Rip. 

As far as size goes, it seems the wood working superstars recommend something at least 14" and preferably larger.

Most of my cutting is to length and therefore requires a Crosscut sharpened saw but larger tenons require a Rip sharpened saw and my Dovetail saw blade is only 1-5/8" (4.12cm) deep. I certainly didn't want to buy another two saws, so which saw would provide the best coverage and compliment my existing joinery saws? 

I came to the conclusion that I should get a Rip sharpened saw which could also be used across the grain if required and decided on the Lie Nielson 16" (400mm) 11ppi Tenon saw (reviewed here). 

As I found previously, I had to spend a while learning to use the new saw as it initially jumped about in the kerf. This is a large saw and a lot heavier than what I'm currently used to. The weight, combined with the extra height of your hand above the cut (blade depth) and the angle of the (dangle) handle mean't I had to saw very slowly and steadily not applying any downward pressure at all other than the natural weight of the saw while my body became familiar with the movement. After quite a few rip cuts in some scrap Pine I finally got the hang of it,  and found the saw to cut fast and track straight as an arrow. No doubt I will further improve the more I use the saw. 

I was also pleasantly surprised at how smooth cutting the saw was when cutting across the grain, I will certainly be able to cut wider and thicker boards to length on the bench hook when my Carcass saw is struggling. Anything that is to big for this new 16" beast can then be handled with my panel saws.

So ... all in all I feel it has been a good purchase and my 'Trinity' of Joinery saws should encompass all my needs, probably for the rest of my life! In fact I would say that my 'nest of saws' is now complete.

I would be very interested in other peoples opinions on my purchase and what saws other people use.

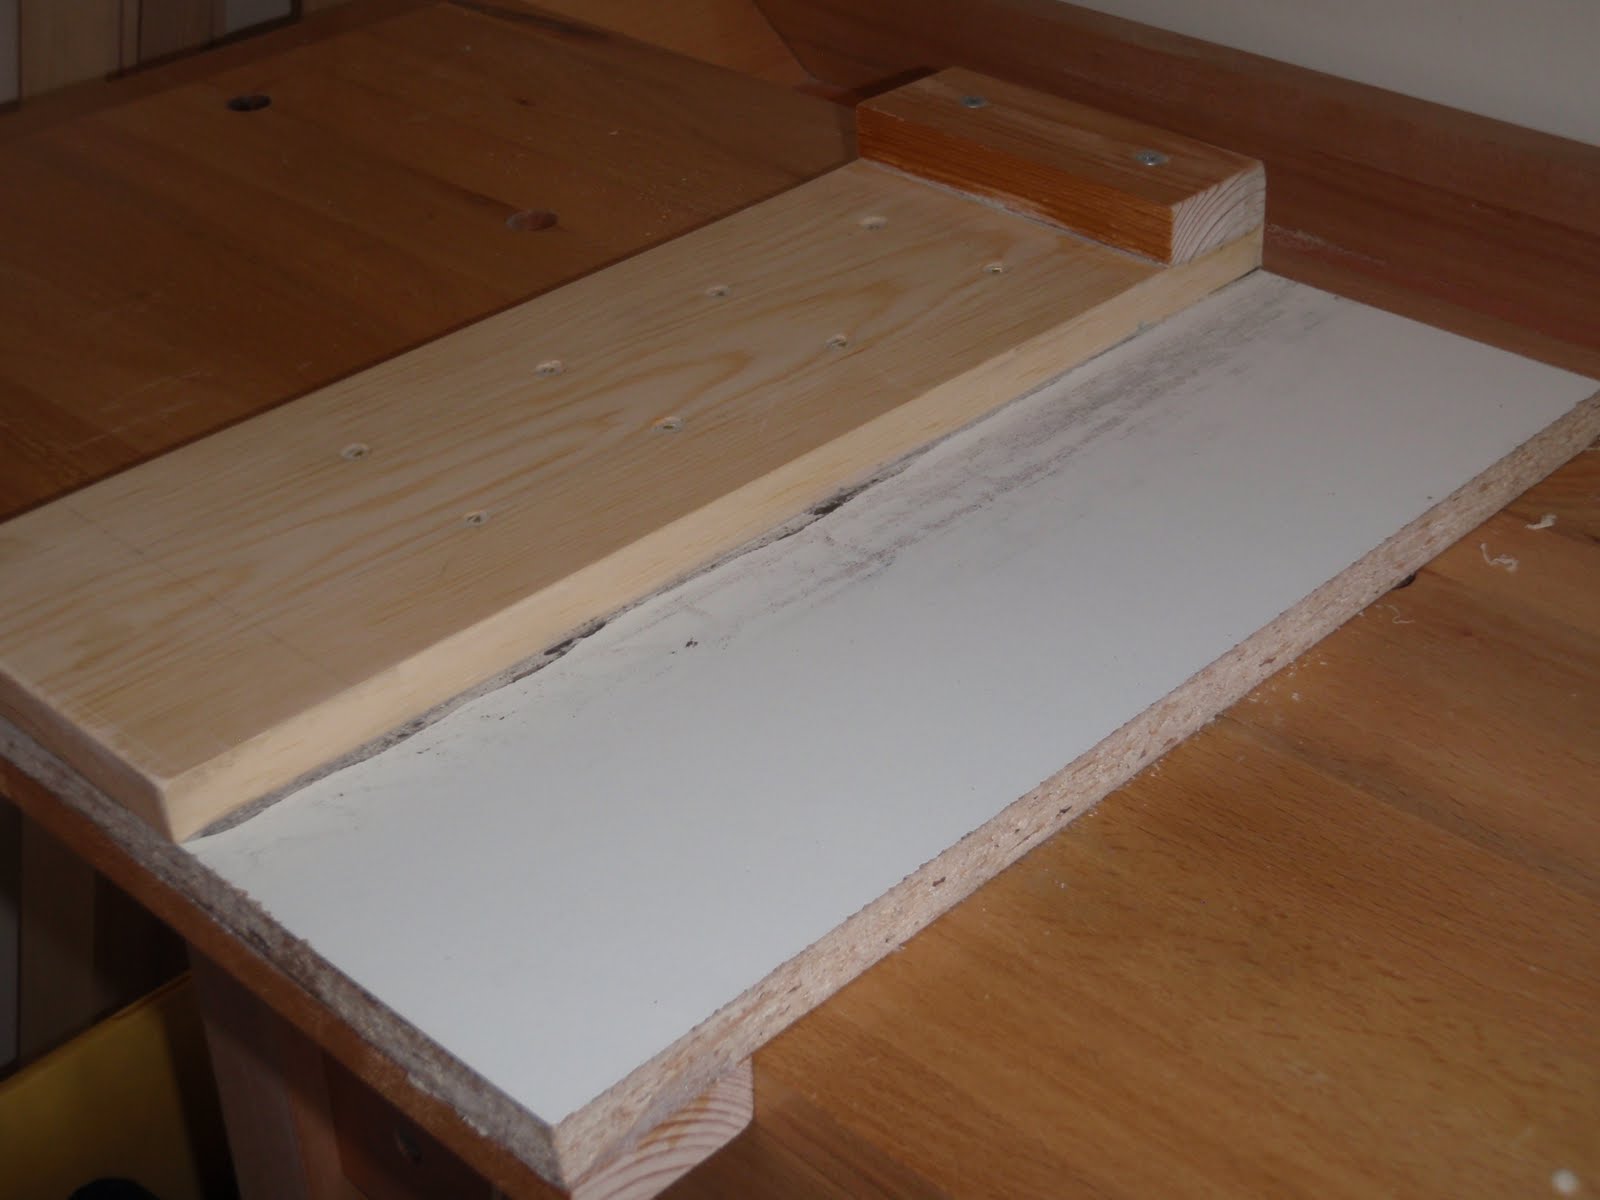
An afternoon of boredom led me to find a use for some kitchen surface 'chip board' and some old reclaimed pieces of Pine to make a quick and dirty bench side saw stand. It's not pretty but it did get my freshly sharpened saws off the floor and out of harms way.

Other new additions to the tool collection, once again courtesy of my girlfriends mum. These include two Marples chisels 1" & 1.5", the larger of which is very rusty. I will probably use these for jobs such as cleaning off dried glue etc. saving my Stanley chisels for 'best'. I'd love some Lie Nielson chisels one day they look gorgeous!

A fret saw (needs de-rusting) and pad saw (no blade) and a small mallet. The mallet head is actually made of a 'roll of wood' and will make a good 'assembly' hammer.

Anyway that's enough for now... time to build something soon!

Tuesday 27 September 2011

Small Box

A week or so ago I decided to try my hand at making something that wasn't Pine. I have a crate full of small pieces of Mahogany, Oak and various other hard woods, none of which are large enough to make furniture.

While most of the pieces are small they are however quite thick, around 19mm (3/4"). I therefore decided to try my hand at re-sawing a piece of Mahogany and White Oak to make a simple Jewellery box.

The only saw I had at the time (my panel saws were away being sharpened) was my Irwin pull saw which allowed me to get a semi decent cut on each piece. 

I did have to plane the cut surfaces quite heavily to remove the saw marks that resulted from constantly turning the piece while sawing and sometimes correcting my inaccuracy. Also, almost immediately after being cut both the Mahogany and the Oak cupped quite badly. 

I removed most of this cupping with a plane and ended up with my two long and two short  sides of the box all of which were reasonably square and true..

I decided to stay with box joints as they are quite familiar now and I still haven't plucked up the courage to delve into Dovetails.

I used my new Lie Nielson shoulder plane to rabbit the two long sides of the box to accept a simple 6mm plywood base. 

All the cutting went well and the dry fit looked good. Unfortunately, that's where the project came to a halt as I was then away for a week down on the boat in Brighton. 

Once I did get back I was keen to finish the box, but to my surprise the pieces had all cupped and bowed again, making the joinery less than perfect. A better man than I could've probably re-surfaced and trued up the wood but, to be honest by this point I'd lost interest. I figured I would go ahead and glue it up and forget the lid that I had planned and just see how it turned out.

The two personal lessons to be learnt here are, firstly, from now on I will make sure I don't wait too long before glueing freshly cut  parts, especially once the joinery has been cut.

And secondly ... I need to work on another essential wood working skill called patience. I have noticed that once a project is well underway, I start getting excited and racing to see the completed object. 

At the moment I mentally need to start and finish things and stay in the 'zone'. I would be completely useless doing a large project spread out over a large period of time unless I could work regularly on it almost daily.

Anyway, it was another learning experience and the box has now found a home on my girlfriends dressing table so it hasn't been completely wasted.


Tuesday 13 September 2011

Dinner Tray

Another quick and small but satisfying project ... 
 A simple Pine Dinner Tray which I have made for my girlfriend's mum as a 'thankyou' for the tools she gave me a while ago.

I am starting to feel a lot more comfortable simply 'knocking together' these small projects on request. 

The simple joinery for the side pieces was cut mostly by eye with very minimal measuring and mark up. I need to be careful that I don't get too lazy!
Another first for me was the Edge to Edge joint I used to make the base board from two pieces of 15mm thick by 145mm wide Pine.

The longest and most tiring part of this project was reducing the thickness of the base board to minimise the overall weight of the tray, while retaining flatness.

Lastly, a quick coat of Boiled Linseed oil to highlight the grain a little and I called it done.

I hope she likes it ...


Saturday 10 September 2011

A Sight 4 Saw Eyes

It's a happy day! After waiting for over 3 weeks, I finally have my saws back from being sharpened.
As mentioned previously I have been given some saws (1,3 and 4) which I promptly de-rusted, cleaned and oiled and sent off for sharpening as follows:

1. Warranted Superior 26" - 5ppi RIP
2. Sandvik 22" - 10ppi RIP
3. NoName 21.5" - 8ppi Crosscut
4. Warranted Superior 20" - 10ppi Crosscut

All saws have been jointed flat and resharpened and set, each costing £10.50. I will get myself some files and a saw  set to learn to do it myself eventually but for now, for just over £40 I should be able to cover most of my larger sawing requirements - bargain! 

Unfortunately, the guy who normally does the sharpening has been on holiday, hence the delay, the service normally only takes a week. If anyone in the Surrey area is interested, the company who carried out the sharpening is Winsor Saw Ltd of Windsor 01753 862029, but you can also drop off and collect saws from  Village Mowers in Hersham, Surrey 01932 248538.

Aside from my Lie Nielson backsaws (a crosscut carcass saw and a dovetail saw), which I use all the time. I still need (would like) a larger tenon saw. Common sense suggests something like a 400mm 10ppi rip saw as the largest cuts are with the grain when cutting a tenon, but would it still be suitable for making precision crosscuts when my carcass saw is a bit small ... or should I just try and do precision cuts with the panel saws above ... decisions decisions.


Friday 9 September 2011

Learning Curve - Habits

As a none practical, handyman, DIY type person learning woodwork as a hobby, here are a few things I have realised during my steep learning curve over the last month or so since beginning working with wood.  Most of these points you read about and are common sense, but I still had to go through the learning process myself before I got that 'ah now I get it' moment of realisation ...

Like most physical activities the process of building something can be subdivided down into smaller components. For example the thought of building a complete table to a beginner can be quite daunting (remember I am talking about someone who has never built a thing out of wood in their life), but by considering the tables components almost as separate projects things seem to become easier. 

A tables components might be table top, table legs and table skirt. Building each component can also be subdivided down into smaller processes such as marking out and cutting to size. By making each small sub process repeatable you quickly find yourself developing skills by habit and getting better and better each time you do them.
To start with (I found) using a pencil to mark out seemed 'normal' and the marking knife seemed both a little strange and a little clumsy, you cant even see the knife lines as easy as a pencil! But it didn't take long before I realised just how much more accurate my lines and cuts became when using a marking knife. By forcing yourself to use the knife (even if you use the pencil to darken the knife line) from the beginning, it quickly becomes a habit to reach for the marking knife instead of the pencil. Therefore, put a marking knife at the top of your shopping list when considering what tools to start with.

If two pieces of wood are accurately marked out and cut to the correct size (and shape) joining them together with a bit of glue becomes a lot easier, so (for me at least) learning these two components alone has been critical in actually finishing a project that at least 'fits together'. Ok, my projects may not be finished (another sub process) to the highest standard but their completion has at least given me enough enthusiasm to continue learning.  

Assuming a beginner has somewhere to work and a suitable surface (bench) of some kind to work on, I think the very first projects a complete beginner should build are a bench hook and a shooting board. Similarly, what tools should a beginner buy first? Tools to build a bench hook and shooting board should be the answer!

The bench hook being a simple project allows cross cutting with a handsaw to become at least easier and a lot more accurate. It wont replace bad technique or a faulty saw but it will help immensely by 'forcing' you to saw in a repeatable way, meaning your body will learn to saw better by repetition or habit. As a beginner it's therefore very important to 'listen' to your body when sawing - is your posture forcing you to cut at an angle at the end of each stroke? Taking things nice and slow for the first few projects will ensure the habits you develop are good ones from the start . It's harder to 'unlearn' and break a bad habit than it is to develop a good one!

The bench hook also serves as a 'warm up' in marking out and cutting before starting your next project...

Once you have your bench hook you can then use it to help build a shooting board, which does have to be built accurately to work properly. These two projects will become your best friends and suddenly initial cutting of components to size will become easy and stress free.

 You can cut close to your marking lines by using the bench hook and quickly bring the cut down exactly to your marking lines squarely and accurately using the shooting board.  Once you realise that this accuracy is repeatable you also relax as there is less risk of 'screwing up' and you find your sawing technique improves further from not being tense, relaxing your grip on the saw and not 'over trying' to cut accurately. A table with four legs all of exactly the same length is a wonderful thing to a beginner!

The last habit I have developed is making sure my tools are sharp and ensuring the act of sharpening forms part of my build process. After rough cutting wood for specific components, I lay out the pieces and spend a short while contemplating the next steps and what tools are likely to be used. Having those tools readily to hand and already sharp ensures I can concentrate on building and get into a 'groove', rather than stopping to sharpen. 

Sharpening is a 'gateway' skill that is absolutely essential when using hand tools and like the others has to be practised. I found that by investing in a good sharpening jig and some quality diamond stones my results became repeatable and not such a 'hit and miss' affair (like when I tried honing free hand).

If I do need to sharpen mid process then I force myself to do it sooner rather than later, again helped by having a sharpening process that is easy and repeatable. For example I know it's only going to take five minutes to sharpen my chisel and therefore only a minor inconvenience! 

However, as a beginner there is a period of time before you realise the tool is blunt or not as sharp as it could be. Is the grain in the right direction or difficult, is this wood generally hard to work with, am I doing it wrong or is the tool just blunt? By sharpening the tools before you start takes away this element of doubt and knowing you started out with a sharp tool any change in performance will be more obvious when the tool does get blunt.

In summary, the last month or so has taught me that sharpening, accurate marking and cutting were the three foundation skills required for me to develop further. Without these three core skills my wood working career would've likely to come to an end pretty soon! 

I would be very interested in hearing from other people what their own personal 'pivotable' points were advancing in their learning curves. All tips & tricks appreciated...

Thursday 8 September 2011

Coffee Table

My latest creation - a Pine Coffee Table.
I am quite happy with how this project has turned out as it does actually look like a piece of furniture.

 The whole thing was 'designed' around the Pine (although it looks a bit like Spruce) top which was salvaged from a crappy bolted together IKEA type piece of office furniture that was being thrown away at the local dump. This same piece of furniture also provided the base to my Cutlery Tray - recycling at its finest.

As the top had four dowels and holes already in it, I decided to reuse them and measured the remaining table frame based on their spacing. The frame is made from 50mm x 50mm Pine from the local wood yard.

I decided to try and make the table without any lower bracing and therefore used big 'chunky' Mortise & Tenon joints for maximum rigidity. The tenons were so big, they had to be mitred inside the Mortise and I was quite impressed with myself for cutting quite a complex joint completely by hand using only a brace and chisel.

As mentioned previously, the top is attached using four dowels and the whole thing is glued, there are no screws or nails whatsoever.

I finished the top by sanding and using boiled Linseed oil mixed with turpentine and light rubbing with wire wool in between coats. There are a few marks on the top but it was not possible to plane them out as the wood is really 'knotty'.

The anaemic light coloured pine legs and frame were stained darker to closer match the top but came out quite patchy.  Even with some rubbing of the darker patches with wire wool the finish is not ideal, I'm sure they will look fine once the table has aged a bit - it's 'rustic.

All in all I learn't a great deal building it and enjoyed the process. The cost of the wood is probably less than £10 and actually seeing the finished table that I built with my own hands being used on a daily basis is very satisfying!


Friday 2 September 2011

Cutlery Tray

At the request of my girlfriend, I have been 'busy' making a wooden cutlery tray out of Pine - my first 'commissioned' piece!
As with the small toolbox I used box joints for the sides and chopped mortises with a chisel for the dividers to fit into. This time I made sure I used an aesthetically pleasing number of fingers for each side of the corner joint.

Unfortunately, my clamps were not big enough for glue-up, so another online trip to Axminster tools was in order to buy three Sash Clamps. Also 'unfortunately', the three clamps and some glue I was buying didn't come to the £50 required for free postage.

Soooo ... I was 'forced' to purchase one of these.


I have a feeling that I will be using this little shoulder plane a lot, it will definitely be handy for my next intended project - a Coffee Table using Mortise & Tenon joints.

The major lesson learn't from this project is not to use too much glue. The squeeze out stuck the wooden blocks I was using to the project and I had to separate them with a chisel. The small 'scar' on the facing side in the photo will be my reminder. Luckily, the cutlery tray has been made to fit tightly into a sideboard draw and the mark wont really be seen.

I'm learning so much and gaining confidence with each small project, another few projects with increasing complexity and size and I will be ready to buy some decent wood such as Oak. It can be quite frustrating using Pine, especially Pine that has been 'rescued' from the dump!